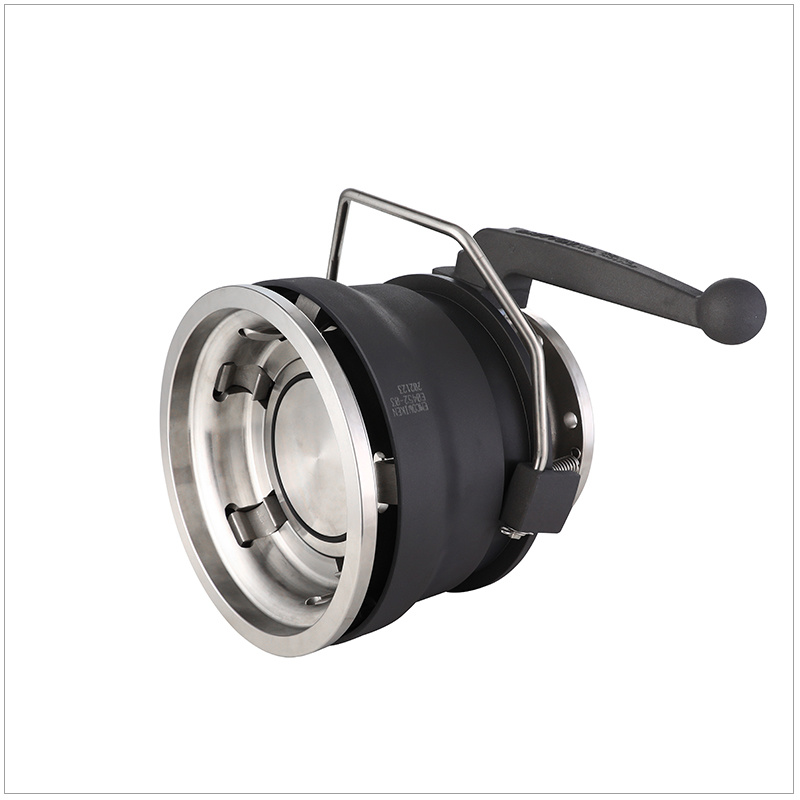
Rubber Hose Installation Tips: Ensuring Optimal Performance
Release time:
2025-08-03
Author:
Source:
Abstract
Rubber Hose Installation Tips: Ensuring Optimal Performance
Table of Contents
1. Understanding Rubber Hoses and Their Applications
2. Importance of Proper Installation Techniques
3. Choosing the Right Rubber Hose for Your Needs
4. Tools and Materials Needed for Installation
5. Step-by-Step Installation Guide
6. Common Installation Mistakes and How to Avoid Them
7. Main
Rubber Hose Installation Tips: Ensuring Optimal Performance
Table of Contents
- 1. Understanding Rubber Hoses and Their Applications
- 2. Importance of Proper Installation Techniques
- 3. Choosing the Right Rubber Hose for Your Needs
- 4. Tools and Materials Needed for Installation
- 5. Step-by-Step Installation Guide
- 6. Common Installation Mistakes and How to Avoid Them
- 7. Maintenance Tips for Longevity and Performance
- 8. Conclusion
1. Understanding Rubber Hoses and Their Applications
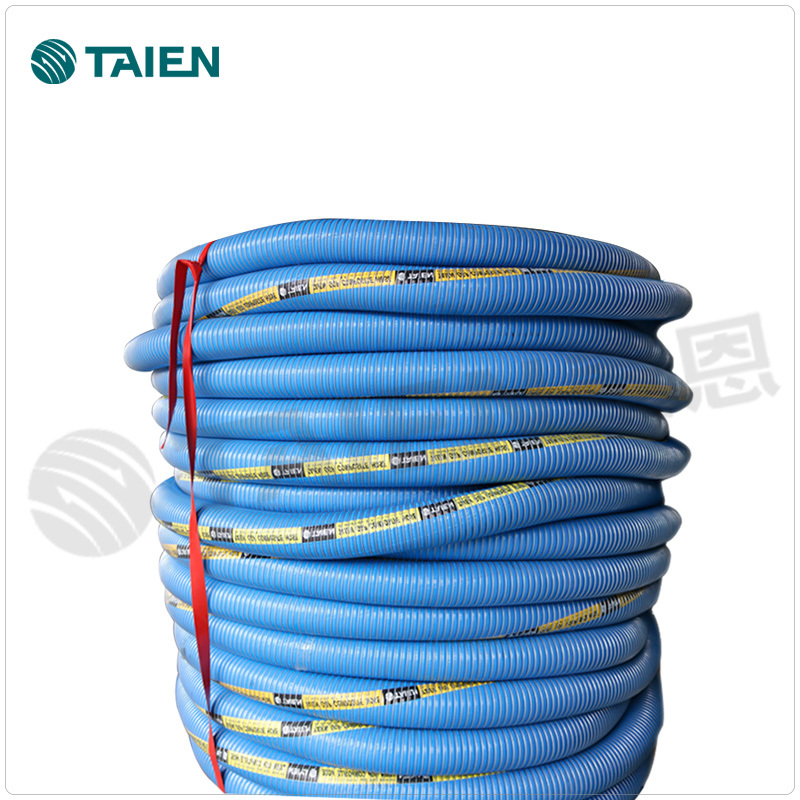
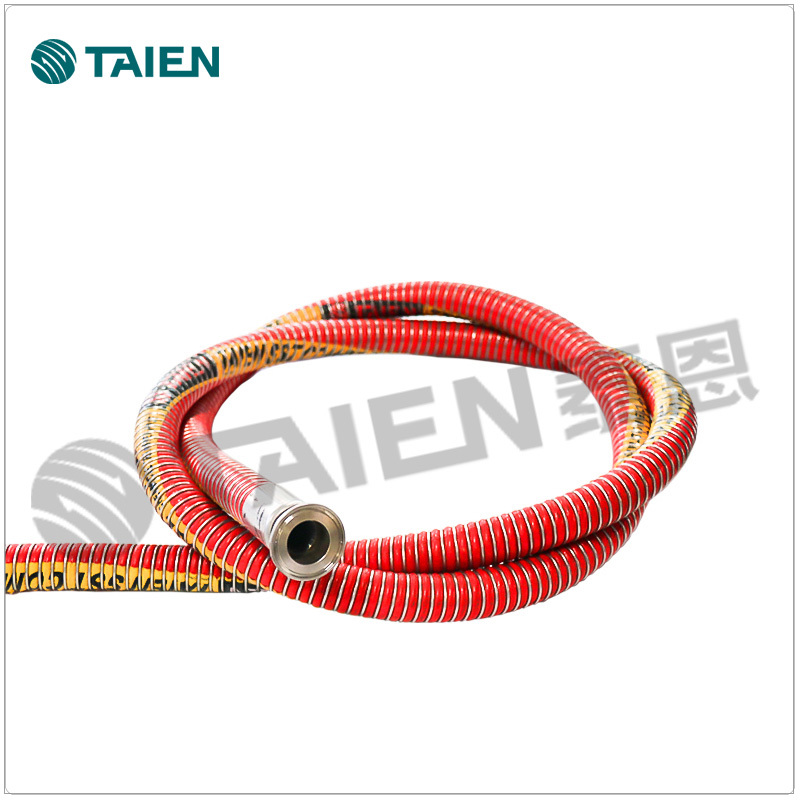
Rubber hoses are essential components in various industrial and automotive applications. They serve as conduits for air, water, oil, and other fluids, ensuring smooth operations in pneumatic systems. The flexibility, durability, and resistance to extreme temperatures make rubber hoses a popular choice in settings ranging from manufacturing plants to automotive repair shops. Understanding the various types of rubber hoses—such as reinforced hoses, silicone hoses, and specialty hoses—can help ensure you select the best fit for your specific requirements.
2. Importance of Proper Installation Techniques
Proper installation of rubber hoses is crucial to achieve optimal performance. Incorrect installation can lead to leaks, reduced efficiency, and system failures. Engaging in thorough preparation and following best practices can significantly extend the lifespan of your hoses while maintaining their efficacy. This section emphasizes the importance of adhering to manufacturer guidelines and recommendations during installation.
3. Choosing the Right Rubber Hose for Your Needs
Choosing the correct rubber hose is the foundation of a successful installation. There are various factors to consider, including:
- **Material Composition:** Different materials offer varying levels of flexibility, pressure resistance, and temperature tolerance.
- **Diameter and Length:** Selecting the right diameter and length is essential to avoid kinks and pressure drops.
- **Application Requirements:** Consider the specific fluids and environmental conditions the hose will encounter.
Consulting with a knowledgeable supplier can provide valuable insights into selecting the most appropriate hose for your application.
4. Tools and Materials Needed for Installation
Before starting the installation process, gather the necessary tools and materials to ensure a smooth operation:
- **Cutting Tools:** For trimming the hose to the desired length.
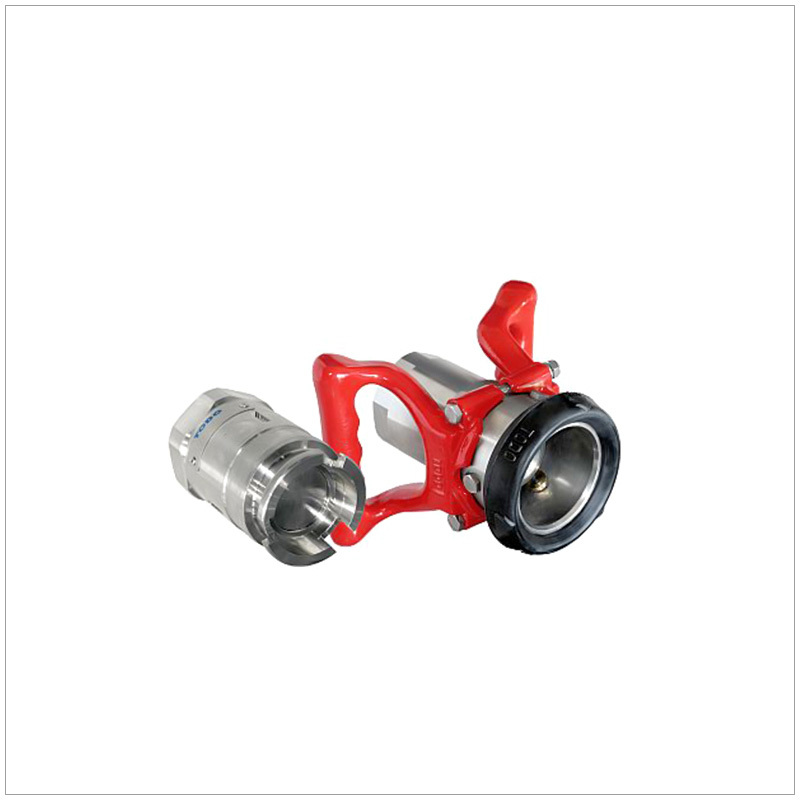
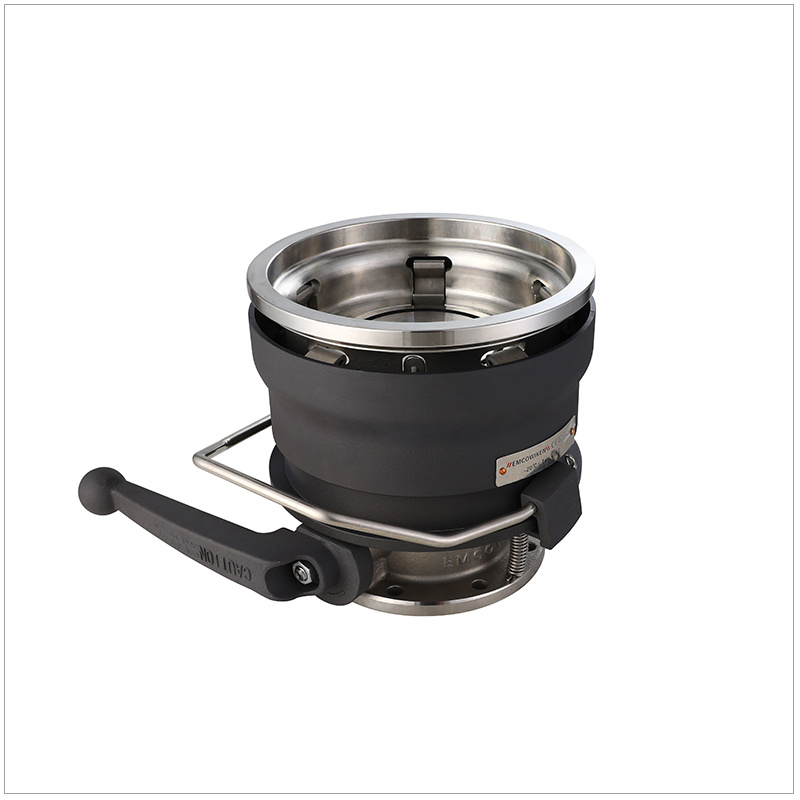
- **Clamps and Connectors:** Essential for securing the hose to fittings and preventing leaks.
- **Hose Adhesives or Sealants:** In certain applications, these may enhance the connection reliability.
- **Protective Gear:** Safety goggles and gloves should be worn to protect against injuries.
Having all materials on hand streamlines the installation process and minimizes potential interruptions.
5. Step-by-Step Installation Guide
Follow these detailed steps for optimal rubber hose installation:
Step 1: Measure and Cut the Hose
Begin by measuring the required length of the hose. Use cutting tools to ensure a clean, straight edge, which is vital for a proper seal.
Step 2: Prepare the Fittings
Clean the fittings thoroughly to remove any dirt, debris, or old adhesive. This ensures a secure connection. If necessary, apply a lubricant to aid in fitting the hose.
Step 3: Attach the Hose
Carefully slide the hose onto the fitting. Ensure that it is pushed all the way to the base for a tight seal. This step is crucial to prevent leaks during operation.
Step 4: Secure with Clamps
Place clamps around the hose at each connection point. Tighten them firmly, but avoid over-tightening, which can damage the hose.
Step 5: Perform a Pressure Test
Before full-scale operation, conduct a pressure test to check for leaks. This step can save you from potential failures during actual use.
6. Common Installation Mistakes and How to Avoid Them
Even experienced technicians can make mistakes during the installation process. Here are some prevalent pitfalls to watch out for:
- **Using Incorrect Fittings:** Always ensure that fittings are compatible with the hose type.
- **Neglecting Temperature and Pressure Ratings:** Each hose has specific ratings; exceeding these can lead to failure.
- **Improper Hose Routing:** Avoid sharp bends or kinks that can restrict flow and cause damage.
Being aware of these common errors can aid in installing rubber hoses correctly the first time.
7. Maintenance Tips for Longevity and Performance
Once installed, proper maintenance will help extend the life of your rubber hoses. Here are some essential tips:
- **Regular Inspections:** Periodically check for signs of wear, cracks, or leaks.
- **Cleaning Procedures:** Keep the hoses clean to prevent buildup that could affect performance.
- **Storage Conditions:** Store hoses in a cool, dry place away from direct sunlight and extreme temperatures.
Following these maintenance practices will ensure that your rubber hoses continue to perform at their best.
8. Conclusion
In conclusion, proper installation and maintenance of rubber hoses play a pivotal role in ensuring optimal performance. By selecting the right hose, adhering to installation best practices, and conducting regular maintenance, you can significantly enhance the longevity and efficiency of your pneumatic systems. Whether for industrial applications or DIY projects, following these tips will lead to successful outcomes and prevent costly repairs in the future. Investing time and effort into proper installation can make all the difference in the functionality of your systems.
Recommended Reading


